
A good classroom lyric video keeps time with the music, word by word, and can be read from the back of the room. Here is how to make one for a music lesson, a choir rehearsal or an assembly, from a song and its lyrics.
01Pick the song, and check what you can do with it
Any recording you can play in your classroom will work. Before you start, it is worth knowing where you will show the finished video.
- In your classroom or a school assembly, using a commercial recording is usually covered by your school’s licences.
- Published publicly (a public YouTube video, a school social media page), it usually is not. Your school or sector will have guidance; check it before posting.
- Recordings you make yourself, such as the class choir, your own guitar and voice, or a public-domain song you have recorded, are yours to use.
02Prepare the lyrics properly
Lyrics copied from the internet are rarely ready to use. Every word that is sung needs to be on screen, in order, exactly once per time it is sung.
- Write out every repeat. Replace “Chorus x2” with the chorus, twice.
- One sung phrase per line. Break lines where the singer breathes, not where a website happened to wrap them.
- Match what is sung. If the singer says “gonna”, decide whether to show “gonna” or “going to”, then keep it consistent.
- Leave out stage directions such as [Instrumental] or (Verse 2).
- Keep lines short. Six to eight words is a good maximum for a screen at the front of a room.
03Lyric mode or reading mode?
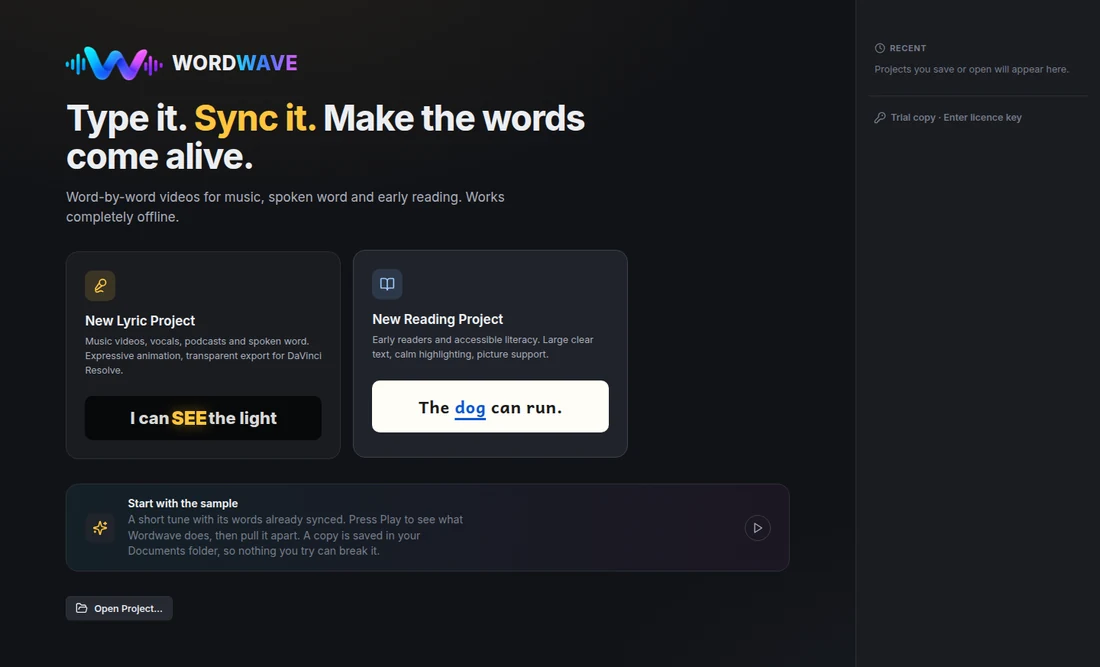
Wordwave has two modes and the same tap-along workflow in both. Choose by what the video is for.
- Lyric mode is for music: expressive word animation, your own type and colours, and transparent export to put the words over your own footage. Use it for performances, choirs and music lessons.
- Reading mode is for literacy: clear reading fonts and very little animation. Use it when the point is reading the words, such as sight words in a song, or students learning English.
04Sync the words by tapping
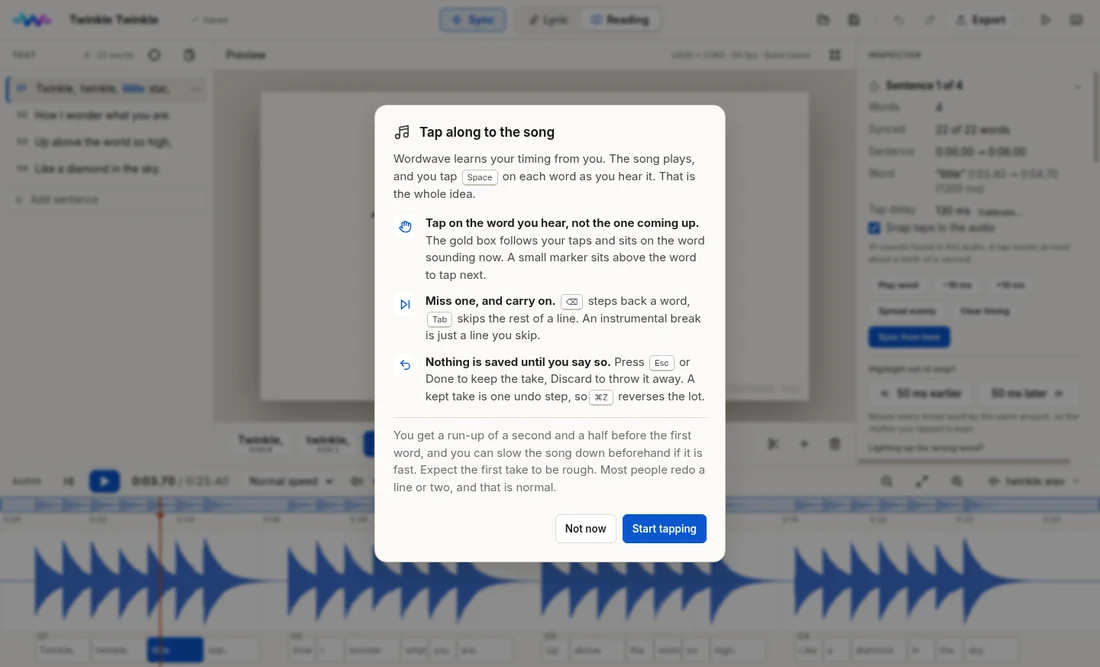
Paste the lyrics, bring in the audio (MP3, M4A, WAV and most other formats), press play and tap the space bar on each word as it is sung.
- Fast song? Slow the audio down while you tap. The video still plays at full speed.
- Long held notes are fine: tap when the word starts, not when it ends.
- Work verse by verse. You can redo a single line or verse on its own without starting again, so a stumble costs seconds, not the whole song.
- Do not chase perfection on every tap. Wordwave corrects for the fraction of a second everyone taps late, and nudges each tap onto the start of the sound.
For a typical three-minute song, the syncing takes around ten minutes.
05Make it readable from the back of the room
- Go bigger than feels necessary. Stand at the back of the room with the video on the board before you finalise it.
- Use strong contrast: light words on a dark background, or the reverse. Avoid mid-tone colours on photos.
- Keep the animation purposeful. Movement draws the eye to the current word; too much draws it away from the words entirely.
06Export for where it will play
- MP4 for an interactive whiteboard, a projector, a school drive or a learning platform. This is the one most teachers want.
- ProRes or QuickTime with a transparent background if you edit video. The words drop onto a track in DaVinci Resolve or Premiere over your own footage, with no green screen to key out.
- SRT or WebVTT subtitles if you want to hand the timings to another program.
07Ideas for using it
- Assemblies and performances: lyrics on the screen that actually keep time with the backing track.
- Choir and music lessons: students learn the words and the rhythm together.
- Sight words in songs: the words students already sing are words they can learn to read. Seeing each one light up makes the connection.
- EAL/D: hearing and seeing each word at the same moment supports new speakers of English.
- Student projects: students record their own song or poem and make the video themselves.